Friday, February 27, 2015

Brown rice paruppu saatham

Dal rice or thuvaram paruppu saatham made with brown rice . Cooking with white rice and red rice of Kerala is always easy for me. Then I tried to make something delicious with brown rice and I am successful many times. Try my Brown rice spinach pongal, Green gram kichdi, and adai to fall in love with brown rice.
While growing up, mom used to make dal separately and mix it with rice and ghee and we would call it as paruppu saatham. But afterwards I learnt from my friend Malar , that  there exists one more version called arisi paruppu saatham, in which rice and dal gets cooked together. This is a one pot meal from Coimbatore. The authentic thuvaram paruppu saatham should be made with white rice and not mushy like mine. I got this recipe from my neighborhood friends and I have tweaked that recipe to fit into our diet days. A few scoops of this rice will be very much satisfying.

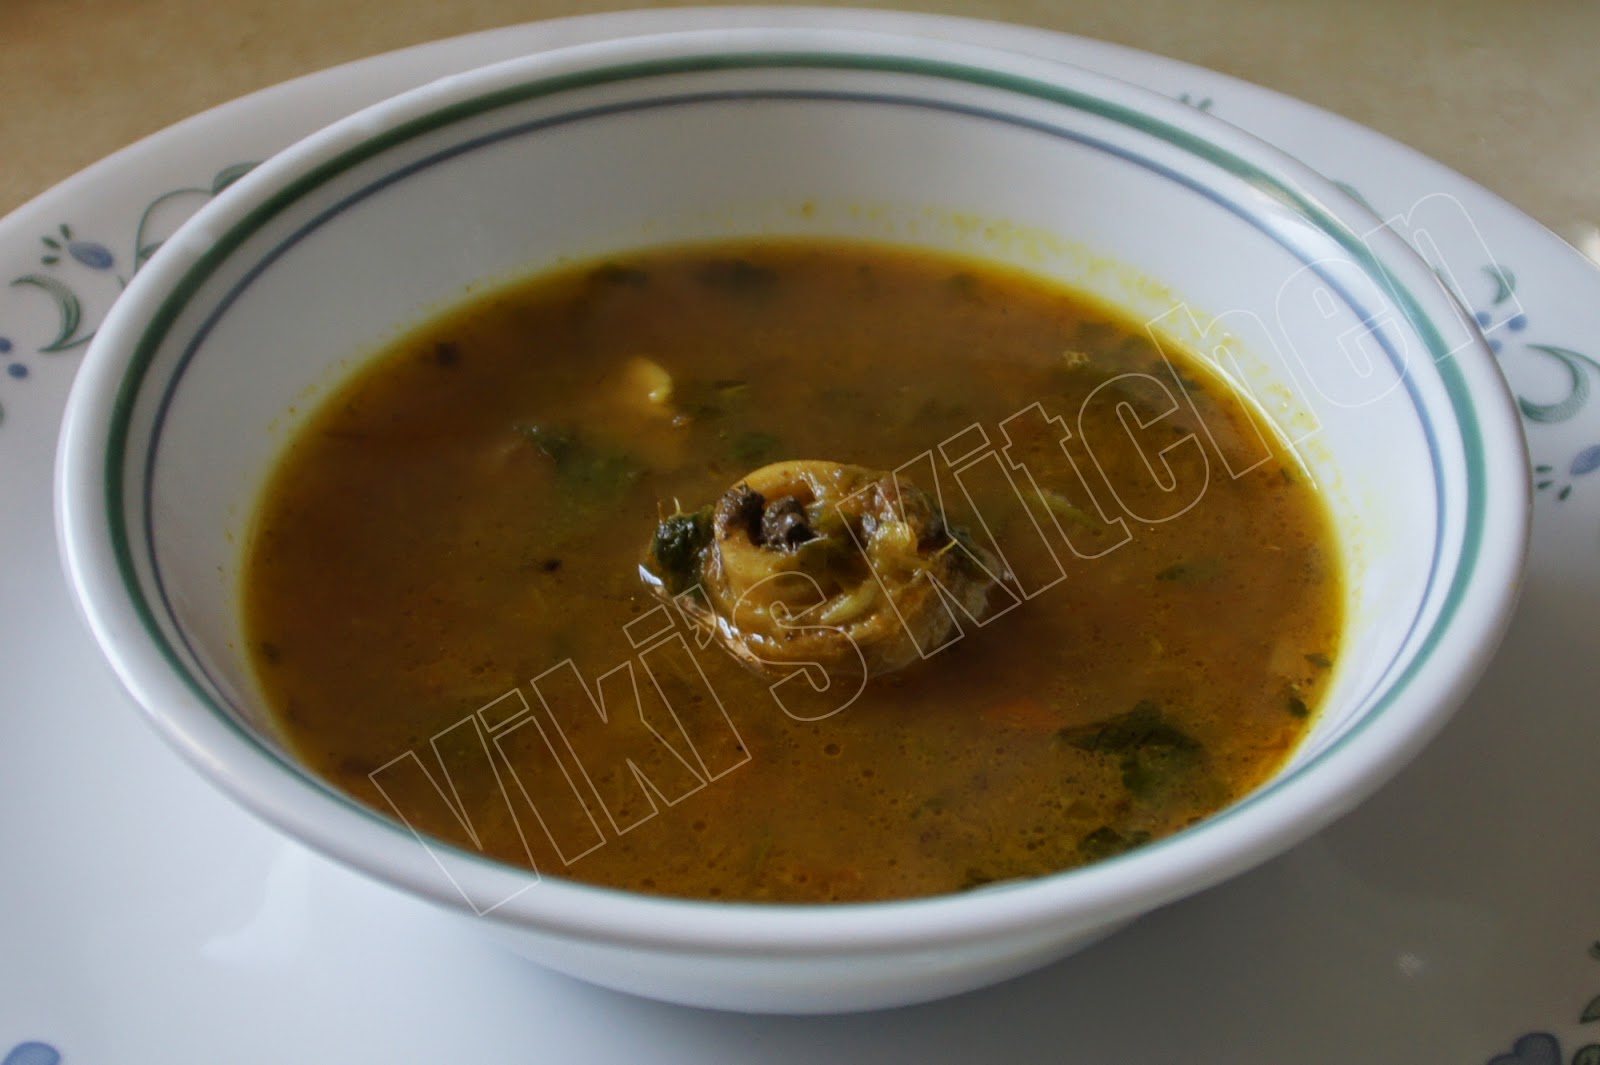
Our menu of the day : Brown rice paruppu saatham,baked potato chips and  horse gram chutney.
 
It may look a little watery now, but the brown rice will absorb the water.


Bring everything together to rolling boil in pressure cooker and add salt. Then cook with weight valve on.

Add tomato, chilly and saute till tomato gets mushy.

Saute onion and garlic till they get soft.

Bring rice and dal to a boil.

I used shallots and cherry tomatoes, as I bought them on a sale , but regular ones are just fine.


Ingredients: (serves 4)
To pressure cook:
brown rice - 1 1/2 cup
thoor dal - 3/4 cup
turmeric - 1/4 tsp
hing - tiny piece (1/8 tsp powdered)
salt - to taste
sambar powder - 1 tbsp

To temper:
coconut oil / ghee - 1 tbsp
mustard - 1 tsp
cumin - 1 tsp
curry leaves - few
onion (shallot or red onion) - 1 cup (chopped)
tomato - 3 (I used 20 cherry tomatoes)
green chilly - 3
garlic - 1 (whole)


To garnish:
cilantro (chopped) - few
ghee - 1 tsp

Method:
Wash the brown rice and dal. Soak together for 30 minutes. They totally measure 2 1/4 cups.

Add double the quantity of water + 2 cups. (this ratio is lesser for white rice).  Add 6 1/2 cups water.
Add water to pressure cooker along with rice, dal , sambar powder and start heating. Put turmeric, hing.
In a separate wok, heat oil or ghee. (we can do the entire process in cooker also).
Add mustard , cumin and let it splutter. Then add curry leaves, chopped onion and fry till it gets soft. Then add chopped garlic and saute for 1 minute. Add chopped tomato, green chilly and cook till tomato gets soft.
Pour this to the boiling items in pressure cooker. Add some salt ( 2 tsp) and check if it seems good.
Put the lid , weight valve and cook for 3 whistles. Then reduce heat to minimum and continue cooking for 5 minutes. Switch off.
Open after pressure is relieved, add cilantro and ghee.
Serve hot.

Serving suggestion:
Serve as main course meal with fried appalam, potato chips.
On that day , I prepared horse-gram chutney and baked potato chips as sides. I will post my very own baked potato chips recipe soon.


Wednesday, February 11, 2015

Chocolate dipped strawberry (microwave method)

I guess chocolate dipped strawberry has become the official dessert of Valentine's day :) There are a lot of ads in TV and newspapers globally to promote rose and strawberries and I am sure it is worth the penny to celebrate this beautiful day which is common to all.
There are many traditional (aka lengthy) processes for preparing chocolate dipping. So buying a pack of chocolate berries is the easiest choice. Then I came to know of this microwave chocolate melting method through food network and it works like a charm. I am sure this easy dessert will make your valentine happy :)


white and brown choco chips with strawberry.

Chocolate starting to melt.

molten chocolate.

Before keeping in fridge
My friends Suchi and Paaru are decorating the strawberries for our little party.

Our lunch get together.  Bisibelebath, enchilada, pizza, chocolate strawberry .

Have a close look.

Ingredients:
Strawberry - 15
Any variety chocolate - 1 cup (chopped or chips or morsels)
(I have used semi sweet brown chocolates and white chocolates)

Method:
Choose small size strawberries with heart shape. They should be well ripe and firm.
If washing the strawberry, then do it previous night and let it dry completely.
Wipe off the water completely before dipping in chocolate, because chocolate will not stick with the fruit, if there is moisture. (This is very very important).

Take the white chocolate and regular chocolate in different microwavable bowls.
One by one keep the bowls in microwave and do as below.
Start reheating for 30 seconds at first. Then take out, check if they starts melting.
Though they may seem like not melting, but they will do after few seconds in outside.
Then again reheat (express cook) for 20 seconds .
Now the chocolates would have started melting visibly now.
Using a fork, try to mash the chocolates.
Then again reheat for 10 seconds and repeat by 10 seconds one or two times.
Chocolates may tend to char, due to overheating. So carefully check every 10 seconds.
I got my semi sweet chocolate done after 1 minute 20 seconds and white chocolate took nearly 1 minute 30 seconds.
In a clean plate, spread a wax paper.
Now hold the calyx (leaves) of strawberry gently and roll over the chocolate, so that it is half dipped.
Place the strawberries on plate and keep refrigerated for 30 minutes.
Take out and decorate with white chocolate or any other icings using a fork or icing cones. Keep in fridge and they hold good in room temperature for up to 3 hours.
Chocolate strawberry is ready!

Serving suggestion:
Have these cuties at any time of day, as snack, dessert or gift them to your loving ones:)

Monday, February 9, 2015

Valentine's day ...recap !

In USA, Valentine's day is a day to celebrate love and affection. We give greetings and chocolates to our friends, gifts to pets and every store will display decors in red and pink.  Also the lovers and couple's will celebrate this day with lot of excitement, romantic candlelight dinners, roses, gifts and I totally love the way love is celebrated here.

Here is a visual treat of some of the desserts I had made for Valentine's day in the previous years.  Lets start creating our own happy moments and enjoy :)

Gulabjamun:
2014 : Gulabjamun I made as gift for hubby dear
Kesari with kulfi icecream:
2014: kesari with kulfi icecream

 Ladoo:
2013: Ladoo, my gift for hubby dear

Boondhi:


2012 valentines day special !

Bathusha:


2012 Valentine's day special treat for hubby dear !

Ponegranate ice cream:


2011 Valentines day celebration !
Happy St.Valentine's day!


Happy Valentine's day !

Thursday, February 5, 2015

Palak paneer

Paalak paneer , is one of the most popular North Indian vegetarian dishes. Palak means spinach and paneer is Indian cheese. Sometimes I prepare this cheese in my leisure time and keep it in freezer. But buying the paneer in any Indian grocery shop is my first choice, as there are many options like low fat paneer, traditional paneer etc. Palak or spinach as we say in USA is almost similar to the pasali keerai of Tamilnadu, which has thin leaves and purple stem and grown as ornamental plant in a kitchen garden. While Malabar spinach (the thicker leaved palak with thick stems and entirely green in color) is different and it gives a texture like okra. I am not sure, if anyone can use malabar spinach for this curry.

My knowledge on North Indian foods is through restaurants, internet and my neighbors only. My neighbor aunty from Gujarat, prepares all the vegetarian foods of North India, just like restaurant made. I like the way she includes butter and ghee in the foods and I totally agree with her that her foods have good nutrition, just like mine :) We try to share our best foods frequently and will exchange recipes. I think I am very lucky, to get her as my friend, as I am growing my cooking skills with her guidance. She elaborates me the traditional way to arrive at a recipe and also the best short cuts using masala powders.

Making palak keerai in a traditional North Indian pattern is a popular recipe. But if you want to make a palak paneer which tastes like restaurant-made in a jiffy, then here is one of our versions of palak paneer and hope you all love it!
Palak paneer


Cooking the spinach with all the masala


Step 1

Ingredients:
Spinach - 1 large bunch (doesn't matter if it is excess or lesser)
paneer - 15 pieces (Cubed)
butter - 4 tbsp
salt - to taste
red onion - 1 (big)
sugar - 1 tsp
tomato puree - 1 cup
ginger - 1 inch
garlic - 5 pieces
green chillies - 3
cilantro - handful
fresh methi leaves - few (optional)
cinnamom - 1 inch
cloves - 3
fennel - 1 tsp
cumin - 1 tsp
kasoori methi - 1 tbsp
whole milk - 1 cup

Method:
Cut the paneer into small cubes of 1 inch size. Heat 1 tbsp ghee / butter in a frying pan. Fry the paneer cubes and take out. keep this aside.

Coarsely chop onion.
In the frying pan, add some more butter (2 tbsp).Add cinnamon, cloves, cardamom, fennel , cumin and add the chopped onion, sugar. Fry till onion turns golden. Then add chopped ginger, garlic, whole green chillies, few fresh methi leaves (if available), cilantro and fry till they wilt.
Then add a cup of tomato puree (or chopped fresh tomato) and cook well.
Clean the spinach leaves and remove the thick stems. 
Put the spinach and cook for 1 minutes. Switch off.
Add required salt and let cool.
Then grind to a medium fine puree with whole milk.
Return this to the frying pan and cook till raw smell goes (5 minutes). If needed add little more water.
Then add the fried paneer pieces and mix well.
Crush some kasoori methi (dried fenugreek / methi leaves) and switch off !
If needed add some more molten butter while serving.

Palak paneer is ready!

Serving suggestion:
Serve as side dish with chapati, naan, pulka.


Wednesday, February 4, 2015

Chennai special Goat leg soup

Goat leg soup is one of the most healthiest soups of India . I usually make  a simple version to prepare this soup, as I would take half of the soup to serve before meal and use the remaining to make kuruma / paya. Click to see my clear soup method.
Then last year, one of my neighborhood friend made this most popular version of goat leg soup and I got the hint of this recipe also.

Bring everything to a boil with tomatoes.
Ingredients:
Goat leg - 2
Turmeric powder - 1 tsp + 1/2 tsp
ginger- 2 inch
garlic- 1(whole)
Sesame oil - 2 to 3 tbsp
Bay leaves -2
cinnamon- 1 inch
fennel seeds - 1 tbsp
cumin seeds - 1 tsp
black pepper - 1 tsp (whole)+ 2 tbsp (powdered)
Red onion - 2
tomato - 4
curry leaves- 1 sprig
cilantro- 1 handful
mint leaves - 1 handful
Green chilli- 2

Method:
First slightly blacken the skin in legs in flame to burn all the left over hair.
Break it in to two pieces to reduce the length. (In some mutton shops they do these processes before selling).
Then rub and wash it thoroughly by applying 1/2 tsp turmeric powder.
Place the legs in a pressure cooker vessel along with water (10 cups) to immerse the legs. Add 1 tsp turmeric powder.
In a kadai , heat 2 tbsp sesame oil. Add cinnamon, fennel seeds, cumin, black pepper 1 tsp and after it turns red add bay leaves (brinjileaves), curry leaves, chopped onion and saute till onion turns red.
Now put chopped green chillies, cilantro and mint leaves one by one .
Add the ginger garlic paste and saute till raw smell vanishes.
Pour it into the pressure cooker and cook it to get one whistle.
Then reduce the flame and cook in low heat for 30 minutes till the leg gets completely cooked. (or cook till 15 whistles) .Open the lid after the pressure is gone.
Then add required salt, chopped tomato and cook again till tomato dissolves. (we cook tomato in the last to ensure complete cooking of goat leg).
Goat leg soup is ready !

serving suggestions:
Serve before meal or just like rasam over plain rice.
Add some more pepper powder , if needed.

Monday, February 2, 2015

Baked potato snack (Baked French fries)

In my view, 'French fries' is the thicker version of potato chips and it is almost the most favorite snack of the entire world. I have seen kids rushing to reach out to these fries during meal time, than any other food at first sight.
How to get the best French fries?
A. Surely they can be found in a local restaurant :)
B. Buying a pack of frozen French fries and preparing at home:)
C. Making it from scratch.
D. Unconventional methods.
I am sure the first suggestion is the easiest. The next choice is not my favorite version.
The third one requires lots of oil and  definitely the best cooking skills. But I am not sure of the ways to reuse the leftover oil....So my best choice is the fourth one.
If we are not going to fry those potatoes, then baking or microwave is the best.

Yesterday morning, after church, we bought a 10 lb pack of Russet potatoes from Shroprite and then I knew what I was going to do for the snack :) Then in the evening I made these baked French fries for us to have with tea. I am pretty sure that these fries tastes more fresh and as delicious as the fried ones.
Here is one more quick and satisfying treat for the snow days !


Ingredients:
Potato - 3 (Russet or Idaho)
salt - few pinches
Extra virgin olive oil - 2 tbsp
turmeric powder - 1/4 tsp

Method:
Line a baking sheet or tray with aluminum foil. Coat with 1 tbsp olive oil.
Preheat oven to 350 deg C.
Choose potatoes that are long (not round shapes).  Peel the potatoes, wash and pat dry. Slice them in 1/2 inch thick strips.  Pat dry again with a clean kitchen towel.
Add the ingredients mentioned above and mix well.  Spread on the baking tray without touching each other. Bake for 15 minutes one side. Then take out keep outside for 2 minutes and flip by peeling or shaking. It may take some time to do this (2 minutes for me for this quantity).
Then continue baking for 5 more minutes and change it to broil mode for 5 minutes.
Take out and now it will be easy to take them out of the tray (much easier than flipping for me).
 If the fries seem little soft, then microwave for a minute in a plate and voila the crispy Baked French fries is ready ! (I get them perfectly crispy by baking this time, but usually I microwave after baking).

Serving suggestions:
Serve as snack or appetizer with tomato sauce or ketchup.

Ulunthu kazhi

Ulunthu Kali is a highly energetic food, rich in protein and vitamins. This kaLi is given to girls who have reached puberty for nearly 16 da...