Wednesday, February 4, 2015

Chennai special Goat leg soup

Goat leg soup is one of the most healthiest soups of India . I usually make  a simple version to prepare this soup, as I would take half of the soup to serve before meal and use the remaining to make kuruma / paya. Click to see my clear soup method.
Then last year, one of my neighborhood friend made this most popular version of goat leg soup and I got the hint of this recipe also.

Bring everything to a boil with tomatoes.
Ingredients:
Goat leg - 2
Turmeric powder - 1 tsp + 1/2 tsp
ginger- 2 inch
garlic- 1(whole)
Sesame oil - 2 to 3 tbsp
Bay leaves -2
cinnamon- 1 inch
fennel seeds - 1 tbsp
cumin seeds - 1 tsp
black pepper - 1 tsp (whole)+ 2 tbsp (powdered)
Red onion - 2
tomato - 4
curry leaves- 1 sprig
cilantro- 1 handful
mint leaves - 1 handful
Green chilli- 2

Method:
First slightly blacken the skin in legs in flame to burn all the left over hair.
Break it in to two pieces to reduce the length. (In some mutton shops they do these processes before selling).
Then rub and wash it thoroughly by applying 1/2 tsp turmeric powder.
Place the legs in a pressure cooker vessel along with water (10 cups) to immerse the legs. Add 1 tsp turmeric powder.
In a kadai , heat 2 tbsp sesame oil. Add cinnamon, fennel seeds, cumin, black pepper 1 tsp and after it turns red add bay leaves (brinjileaves), curry leaves, chopped onion and saute till onion turns red.
Now put chopped green chillies, cilantro and mint leaves one by one .
Add the ginger garlic paste and saute till raw smell vanishes.
Pour it into the pressure cooker and cook it to get one whistle.
Then reduce the flame and cook in low heat for 30 minutes till the leg gets completely cooked. (or cook till 15 whistles) .Open the lid after the pressure is gone.
Then add required salt, chopped tomato and cook again till tomato dissolves. (we cook tomato in the last to ensure complete cooking of goat leg).
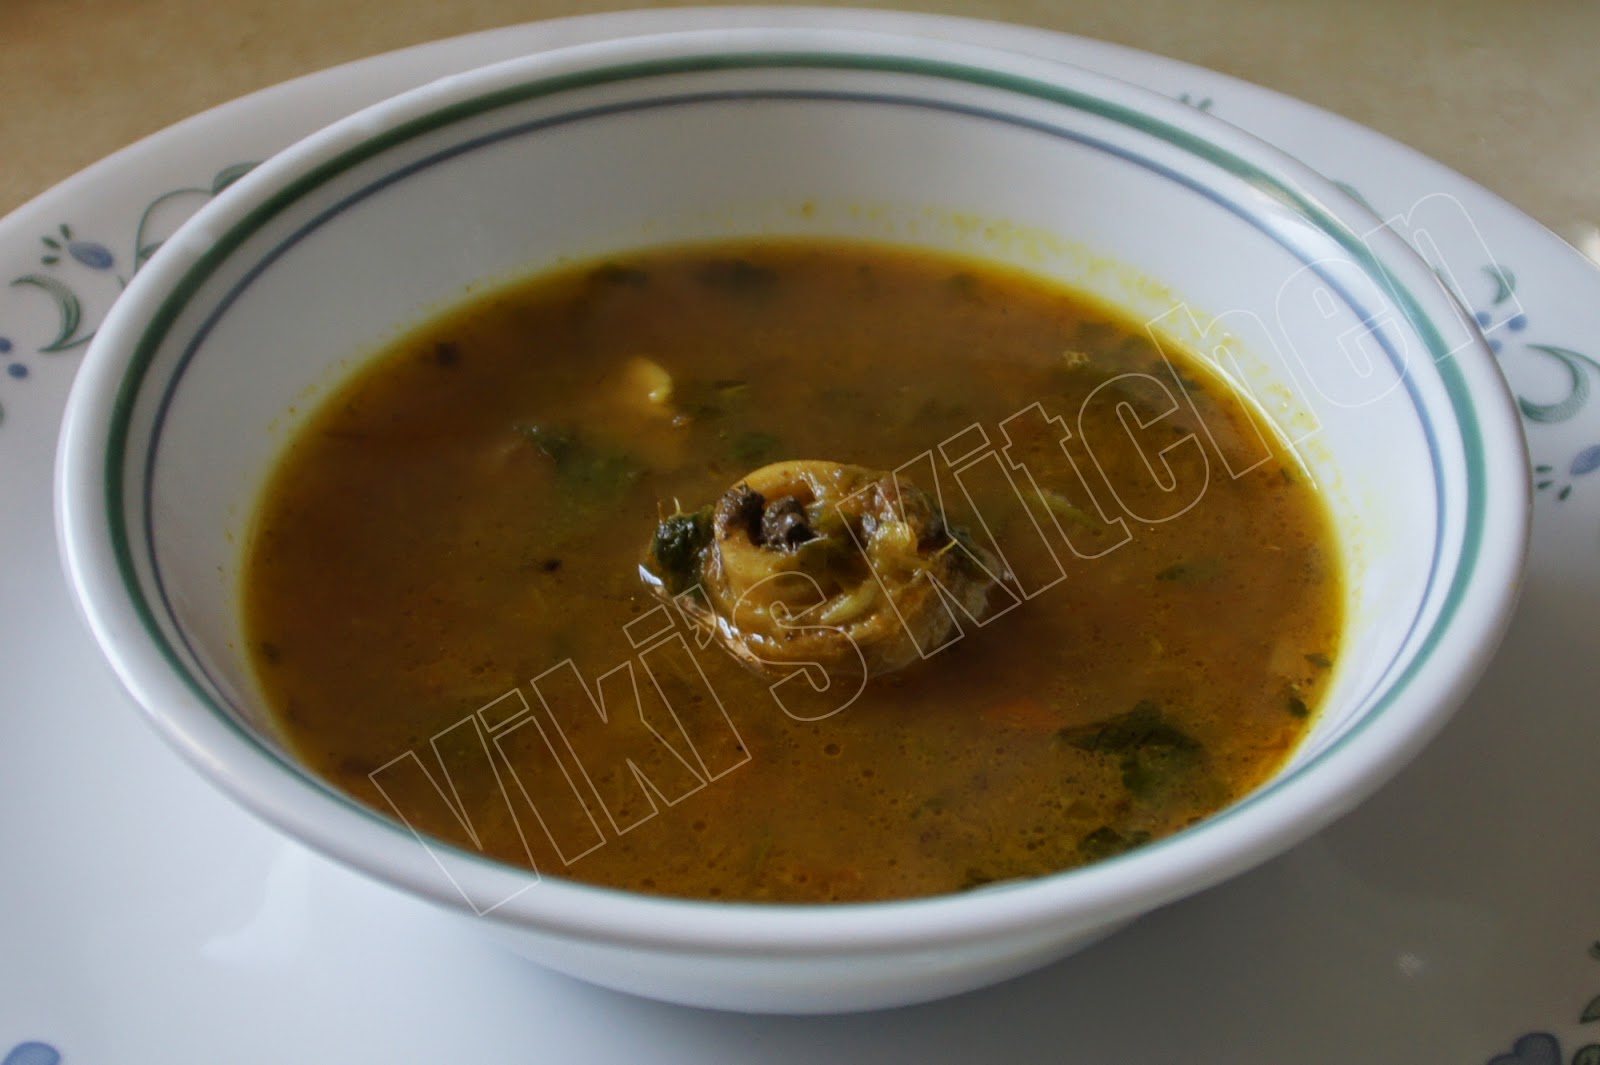
Goat leg soup is ready !

serving suggestions:
Serve before meal or just like rasam over plain rice.
Add some more pepper powder , if needed.

Monday, February 2, 2015

Baked potato snack (Baked French fries)

In my view, 'French fries' is the thicker version of potato chips and it is almost the most favorite snack of the entire world. I have seen kids rushing to reach out to these fries during meal time, than any other food at first sight.
How to get the best French fries?
A. Surely they can be found in a local restaurant :)
B. Buying a pack of frozen French fries and preparing at home:)
C. Making it from scratch.
D. Unconventional methods.
I am sure the first suggestion is the easiest. The next choice is not my favorite version.
The third one requires lots of oil and  definitely the best cooking skills. But I am not sure of the ways to reuse the leftover oil....So my best choice is the fourth one.
If we are not going to fry those potatoes, then baking or microwave is the best.

Yesterday morning, after church, we bought a 10 lb pack of Russet potatoes from Shroprite and then I knew what I was going to do for the snack :) Then in the evening I made these baked French fries for us to have with tea. I am pretty sure that these fries tastes more fresh and as delicious as the fried ones.
Here is one more quick and satisfying treat for the snow days !


Ingredients:
Potato - 3 (Russet or Idaho)
salt - few pinches
Extra virgin olive oil - 2 tbsp
turmeric powder - 1/4 tsp

Method:
Line a baking sheet or tray with aluminum foil. Coat with 1 tbsp olive oil.
Preheat oven to 350 deg C.
Choose potatoes that are long (not round shapes).  Peel the potatoes, wash and pat dry. Slice them in 1/2 inch thick strips.  Pat dry again with a clean kitchen towel.
Add the ingredients mentioned above and mix well.  Spread on the baking tray without touching each other. Bake for 15 minutes one side. Then take out keep outside for 2 minutes and flip by peeling or shaking. It may take some time to do this (2 minutes for me for this quantity).
Then continue baking for 5 more minutes and change it to broil mode for 5 minutes.
Take out and now it will be easy to take them out of the tray (much easier than flipping for me).
 If the fries seem little soft, then microwave for a minute in a plate and voila the crispy Baked French fries is ready ! (I get them perfectly crispy by baking this time, but usually I microwave after baking).

Serving suggestions:
Serve as snack or appetizer with tomato sauce or ketchup.

Chicken Kofta kebab using Kitchenaid meat grinder attachment

This is a protein rich healthy chicken kebab recipe. In this recipe and video I have shown how to use kitchenaid meat grinder attachment and...